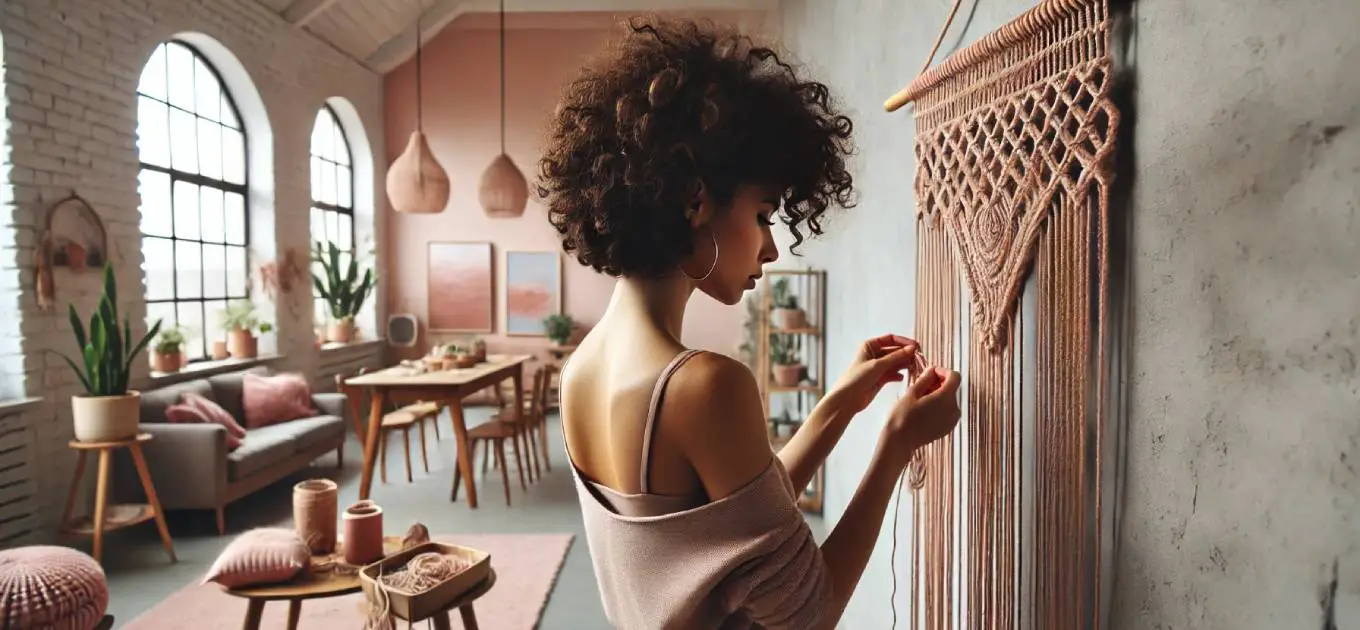
How to make a Macrame Plant Hanger
September 6, 2023 by Kate
Whether you’re a seasoned knot-tying pro or, like me, just embarking on your macrame journey, get ready for an inspiring adventure.
But here’s the twist – it’s not just about crafting; it’s about bringing style to your green companions. As a dedicated plant lover, I’ve found my passion in macrame.
These macrame plant hangers have evolved into more than just home decor; they’re thoughtful, meaningful gifts – I always [jokingly] tell my friends and family that they’re getting one whether they like it or not! Sorry folks!
So, let’s dive into the world of macrame together, exploring its artistry, practicality, and the hilarious determination to gift everyone a plant hanger in my circle!
And what’s more, it only takes about 30 mins!
Let’s get going!
WHAT DO I NEED TO MAKE A MACRAME PLANT HANGER?
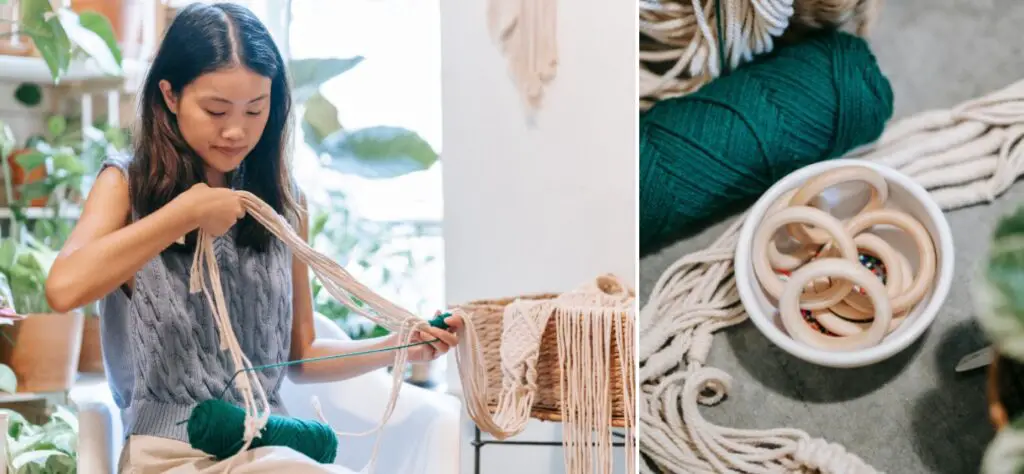
To create a macrame plant hanger, you’ll need the following materials:
- Macrame Cord: Choose a suitable cord material based on your preferences. Cotton cord is a popular choice for its softness and flexibility, but you can also use materials like jute, linen, or synthetic cord.
The thickness of the cord depends on your project; 3-6mm is common for plant hangers. I recommend the following lengths:
- 6 pieces at 230cm long (inside cords)
- 2 pieces at 370 cm long (outside cords)
- 2 pieces at 60 cm long (wrapping knots)
2. Scissors: Sharp scissors are essential for cutting the cord cleanly and neatly.
3. Plant Pot: Select the plant you want to hang and ensure it fits comfortably within the pot. The size of the pot will determine the dimensions of your hanger. A plant pot about 5 inches in diameter and 6 inches tall will be ideal for this.
4. A Hook or Ring: This is used to hang the plant hanger from the ceiling or wall. It should be sturdy enough to support the weight of the plant.
Optional materials, depending on your design and preferences:
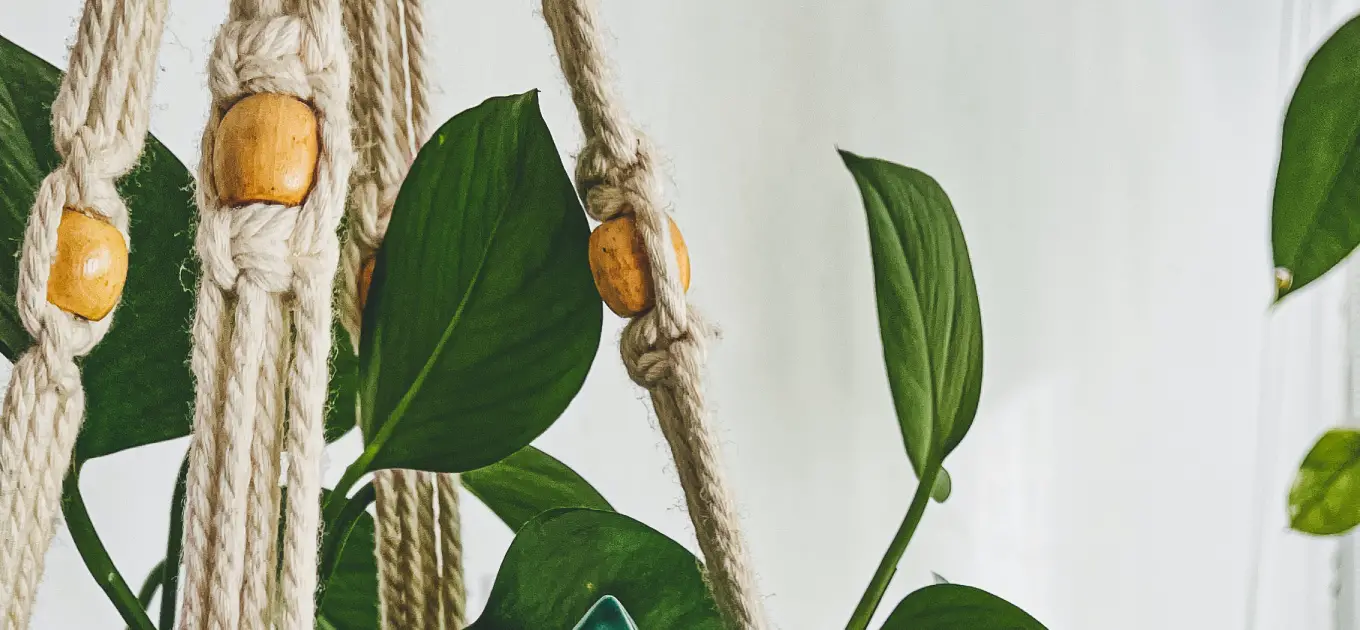
5. Beads: Wooden, metal, or glass beads can add decorative elements to your hanger.
6. Tape Measure or Ruler: Useful for measuring cord lengths and maintaining consistency in your knots.
7. Comb or Brush: To help unravel and straighten the cord if it becomes tangled. Also great for fraying the ends of the rope for fringe finish.
8. Masking Tape (for Beginners): To secure the ends of the cord while working and prevent fraying.
A STEP-BY-STEP GUIDE TO A MACRAME PLANT HANGER
Before diving into creating your macrame plant hanger, let’s set up your creative space.
Begin your journey on a flat, convenient work surface, such as a countertop or dining room table. To maintain a neat start, use masking tape to secure the initial loop while you tackle those first essential knots.
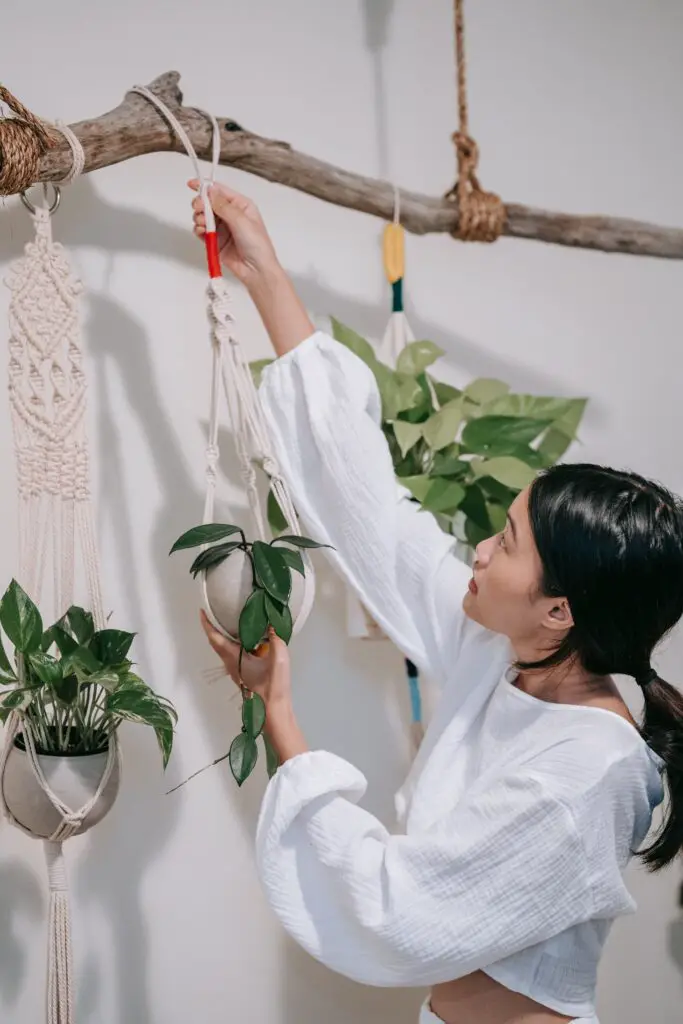
As your creation progresses, you’ll find it more manageable to transition to a vertical workspace. Hang your developing planter from a coat hook, a doorknob, or a clothes rack.
Measuring and cutting your cords
To begin, prepare ten cord pieces as outlined below: cut six pieces measuring 230 cm each (for inside cords), two pieces measuring 370 cm each (for outside cords), and two pieces measuring 60 cm each (for wrapping knots).
My top tip: To prevent unruly fraying, it’s a good practice to secure the ends of your cut cords with a bit of masking tape once you’ve made your cuts!
Beginning the knots
STEP 1
Create the Base Knot: Fold the eight cut cords in half and loop it through the ring or hook so they are centred.
Make sure you have the two long cords on each side (so you’ll have one long cord on the left and one on the right.)
STEP 2
Create the Spiral: The spiral knot, also known as the spiral square knot, is created by repeatedly tying a half knot in the same direction.
As you do this, it naturally starts to twist into a captivating spiral pattern.
Simply, take the two longer outer cords and tie 25 half knots to make a spiral. To tie a half knot, cross the left cord over and bring the right cord back behind and through the loop. Tighten the knot by pulling the cords.
I always remember spiral knots by thinking of the number 4 or the letter L – you have the left cord crossing over the right, then looping behind and through the L-shaped loop formed.
As you repeat this motion consistently in the same direction, the cords naturally spiral around, creating an enchanting and visually pleasing pattern.
My top tip: Be sure to keep the central column of cords straight, to get a really neat spiral (a bit like braiding hair!)
STEP 3
Tie a Wrapping Knot: Next, grab one of the pre-cut 60cm pieces of cord. To tie the wrapping knot, create a U-shape and hold the cord against the bundle of cords, leaving a little end sticking up on the left.
Wrap the longer side (on the right) around the bundle of cords several times (e.g., 6 or 7 times).
Thread the end of the cord through the loop created by wrapping. Pull the short end of the cord sticking out of the top.
Pull it halfway under the wraps to secure it. Trim off the excess cord and tuck the little ends under the wraps using the scissors.
My top tip: To create a wrapping knot, I was once given a memorable visualisation: picture a circular hoop like a basket and imagine a snake spiralling around it.
As the snake completes its spiral, it pokes its head through the loop, and all it takes is a gentle pull to secure the knot.
This image has stayed with me, and while it may or may not work for you, it’s a whimsical way to recall the technique and might come in handy for your macramé projects too!
STEP 4
Measure and Tie Square Knots: Measure about 30cm down from the wrapping knot. Tie square knots in four of the cords, one at a time. Ensure the top of each square knot is straight and lines up with the 30cm mark. Repeat this process for all four bundles of cords.
STEP 5
Connect Arms with Square Knots: Measure about 8cm down from the row of square knots you just tied. Tie a square knot in between the existing knots to connect the arms of the plant hanger. Make sure the top of the square knot is straight.
STEP 6
Complete the Wrapping Knot: Measure about 8cm down from the last row of square knots. Tie another wrapping knot using the remaining 60cm piece of cord. Wrap the cord around the bundle, thread it through the loop, and pull it halfway under the wraps.
Trim the excess cord and tuck the ends under the wraps (tweezers come in handy for this).
My top tip: A 13cm plant pot is an ideal fit for this basic macrame plant hanger, although it should also accommodate pots ranging from 10 to 15cm, and possibly even larger ones. Before completing the final wrapping knot, it’s wise to perform a test fit. You can fine-tune the spacing of the knots in the basket section to ensure a snug fit for your pot if necessary.
STEP 7
Cut Fringe (Optional): Leave about 13or 15cm of cord underneath the wrapping knot. Optionally, unravel the fringe for a decorative look.
Your macrame plant hanger is now ready to use!
STEP 8
Place Your Pot: Choose a pot that fits well in the plant hanger, ideally about 13cm in diameter and 15cm tall.
Hang your plant hanger and place your potted plant inside it. And voila!
FINAL THOUGHTS
See, I told you it was easy! Now you can proudly enjoy your handcrafted macrame plant hanger. And why stop here? Feel free to explore different designs, experiment with various colours, and even add some charming wooden beads to your creations!
If you’re ever looking for more inspiration or guidance, remember that there are plenty of fantastic YouTube videos out there to help you along your macrame journey. Happy crafting!
FAQs
How Many cords do I need for a Macrame Plant Hanger?
You need a minimum of six cords for a three-arm macrame plant hanger. These cords form the foundation for your hanger, with four cords composing each arm.
You can add more cords to create a more intricate design, depending on your preference.
Extra cords can also come in handy for adjustments or embellishments like beads or decorative knots. So, begin with six cords for a basic three-arm hanger, and let your creativity take it from there!
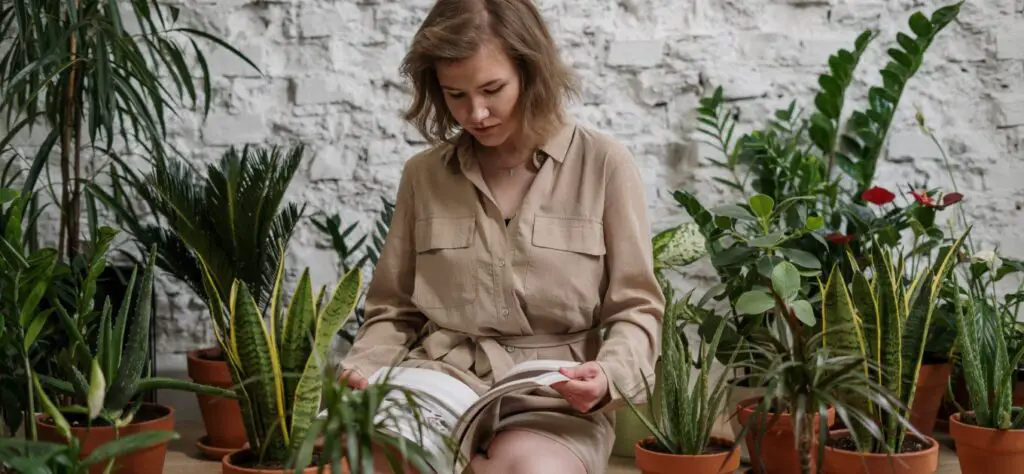
What plants look best in Macrame Plant Hangers?
Here are some plant varieties that look the best in macramé hangers:
- Spider Plant (Chlorophytum comosum)
- Ivy (Hedera spp.)
- Pothos (Epipremnum aureum)
- String of Pearls (Senecio rowleyanus)
- Tradescantia (Tradescantia spp.)
- Philodendron (Philodendron spp.)
- English Ivy (Hedera helix)
- Snake Plant (Sansevieria spp.)
- Lipstick Plant (Aeschynanthus radicans)
- Wandering Jew (Tradescantia zebrina)
Ultimately, the best plant for your macramé hanger depends on your personal style and the lighting conditions in your home. Experiment with different plant varieties to find the one that best suits your aesthetic preferences and care routine.
Can you put Macrame in the bathroom?
You can put macrame in the bathroom, but it’s essential to consider factors like humidity and moisture-resistant materials for long-lasting decor.
Incorporating macrame in your bathroom can add a boho-chic touch, enhancing the overall ambiance. However, due to the often humid environment, it’s crucial to choose moisture-resistant materials like synthetic cords or treated natural fibres to prevent mould or mildew growth.
More Articles