How to make a Macrame Angel Tutorial
September 17, 2023 by Kate
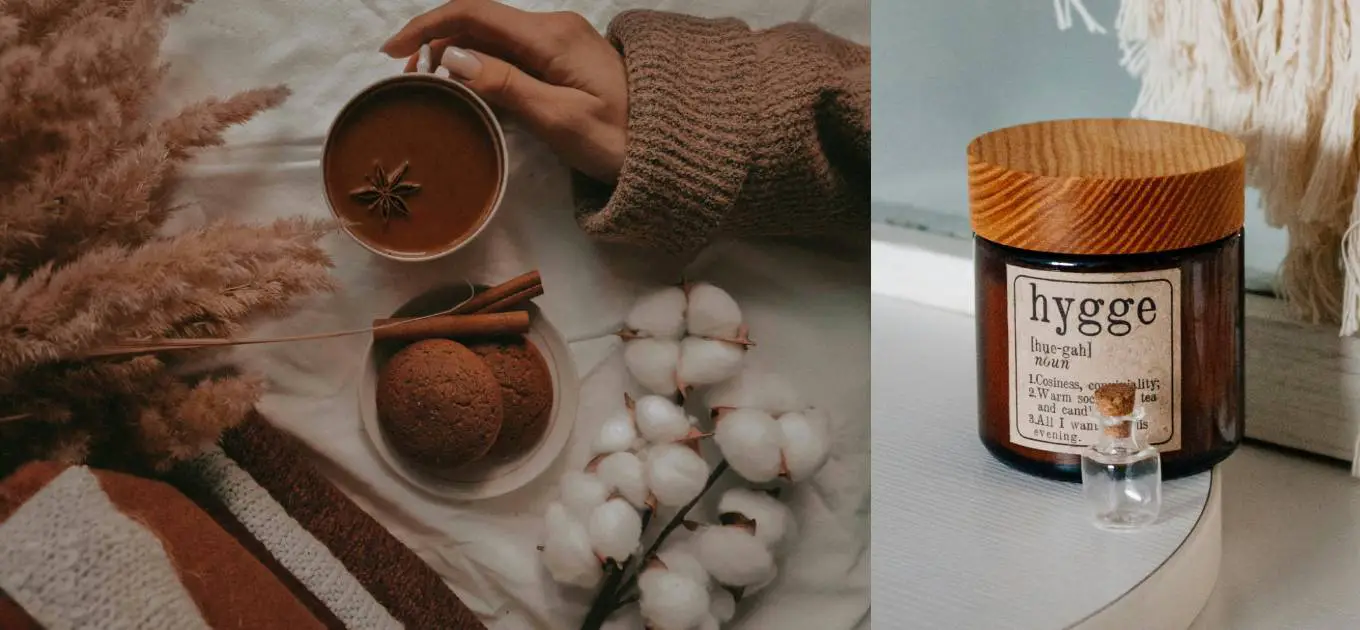
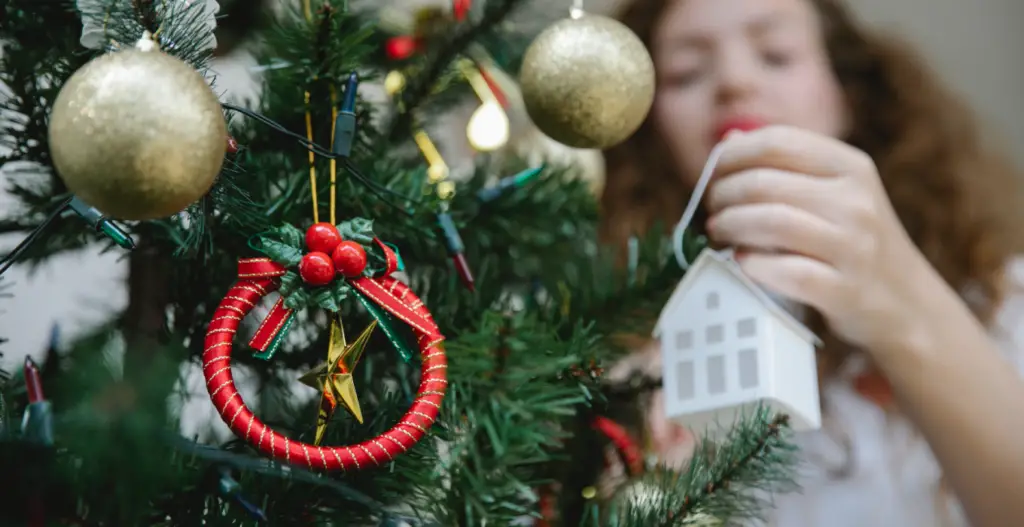
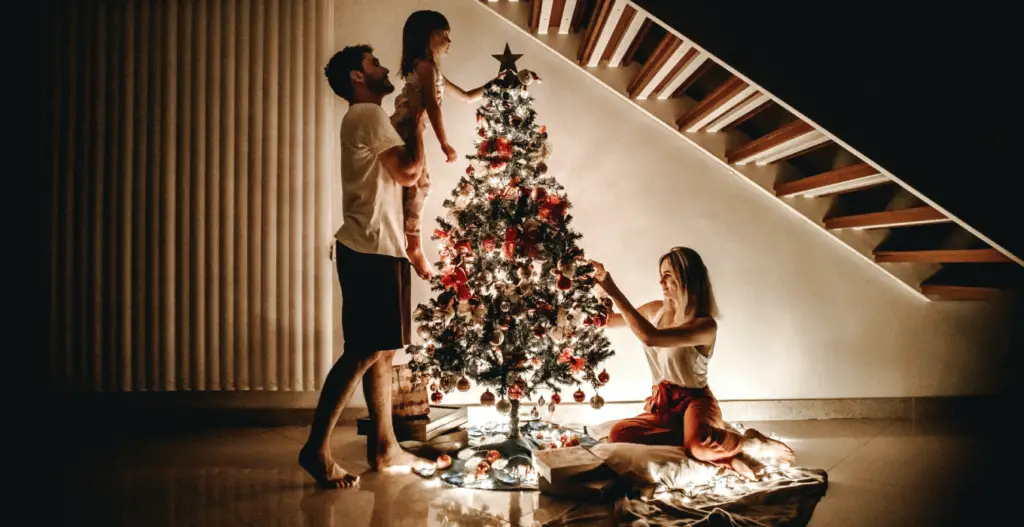
With Christmas just around the corner, I find myself gearing up for that yearly ritual – a trip to the loft to retrieve our box of decorations. It’s a time filled with fond memories, as we carefully sort through the familiar ornaments.
Yet, the most heartwarming part of this tradition takes place at my mum’s house. Amidst the Christmas treasures, we uncover the well-worn toilet roll Father Christmas decorations. Crafted by my three siblings and me in the 90s, they may bear the marks of time, but their sentimental value is immeasurable.
These humble decorations hold a special spot in our hearts, a reminder of the personal touch we brought to our Christmas celebrations, and the enduring charm of our homemade traditions.
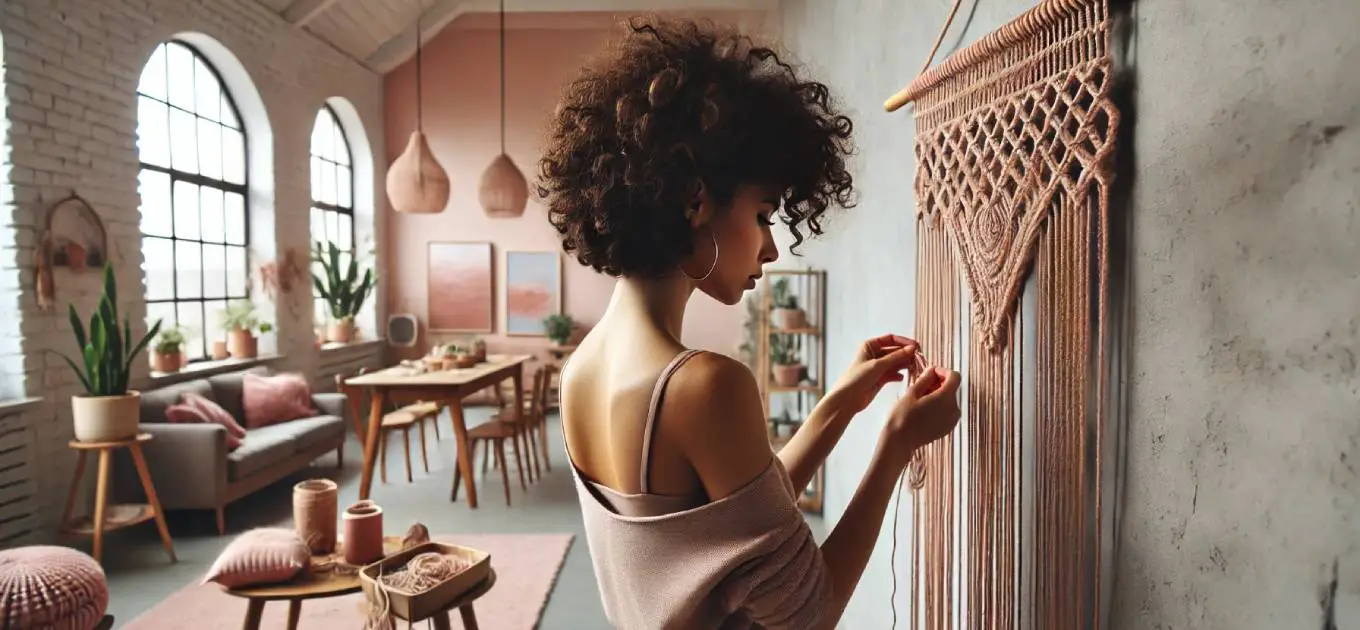
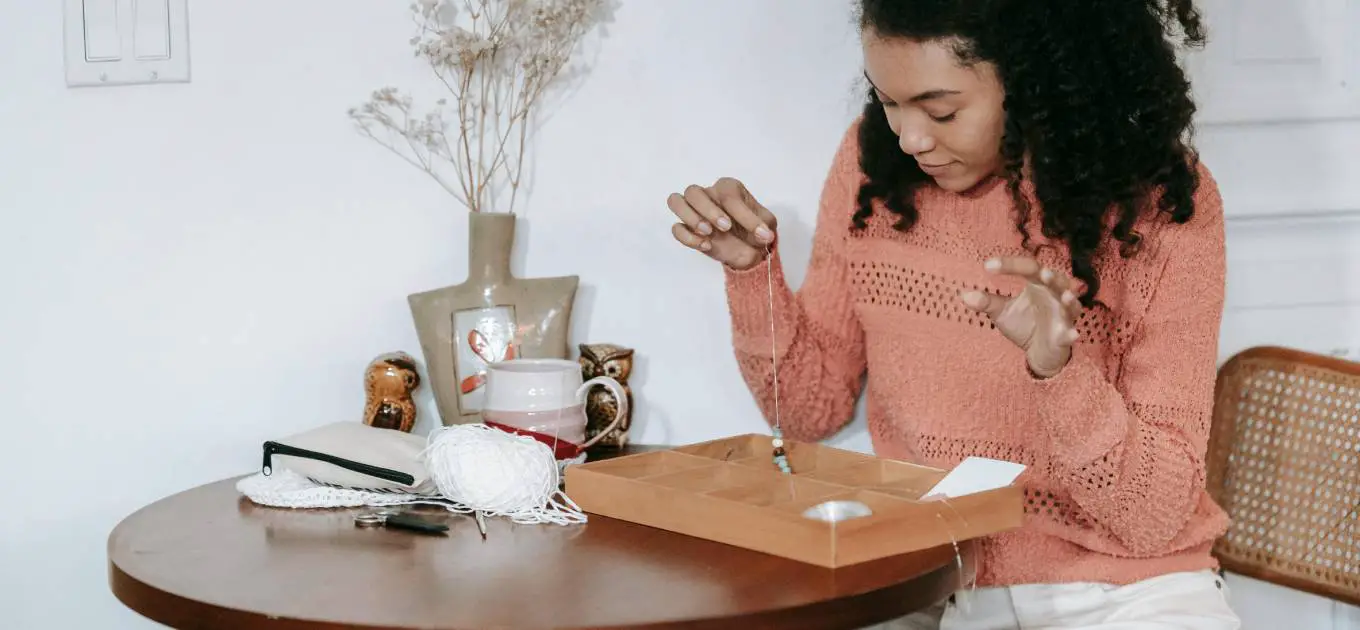
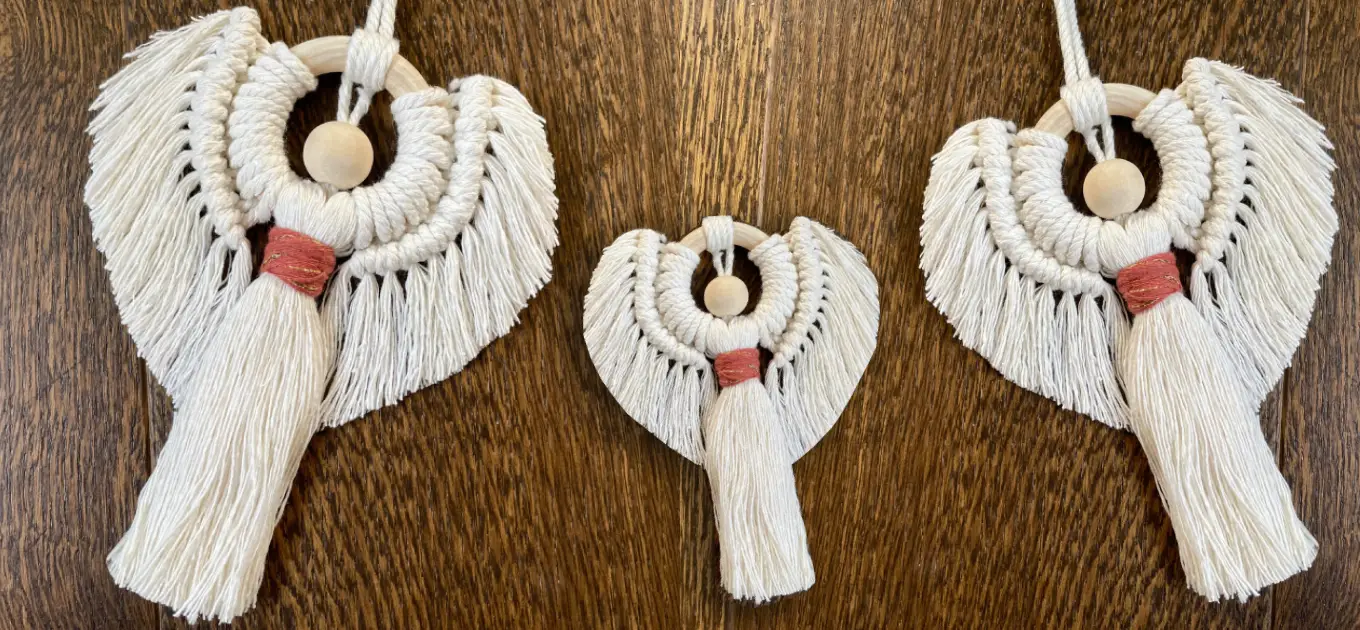
Sticking with the homemade Christmas decoration trend, how about crafting some charming Macrame Angels (macrame anděla) to adorn your tree or wall? These little beauties are a breeze to create, taking less than 60 minutes. Plus, it’s a fantastic family activity – get your kids involved for some extra festive fun!
WHAT WILL I NEED TO MAKE A MACRAME ANGEL?
- 3mm Macrame cord
- 5mm Macrame cord
- 4.5cm or 5cm wooden ring
- 20mm wooden or plastic bead
- 1.5mm gold metallic cord
- Sharp Scissors
- Comb
- Pins
Prepare Your Materials:
- 3mm – 60cm x 1
- 3mm – 35cm x 12
- 5mm – 30 x 6
A STEP-BY-STEP GUIDE INTO MAKING A MACRAME ANGEL
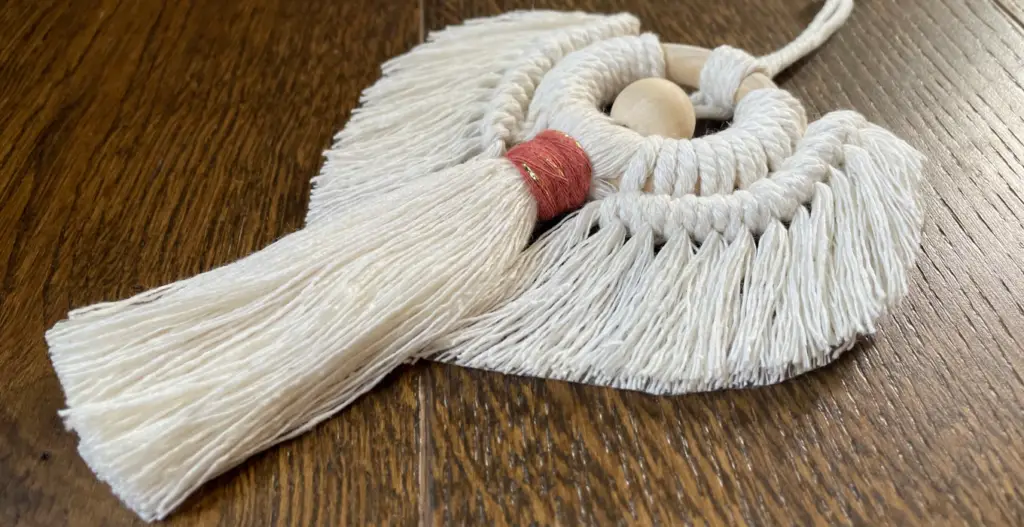
Creating the Angel’s Head:
- Start with the 3mm Macrame cord cut a length of 60cm.
- Loop through the wooden ring and secure with a larks head joint.
- Simply loop through, and pull the cord through the middle of the hoop.
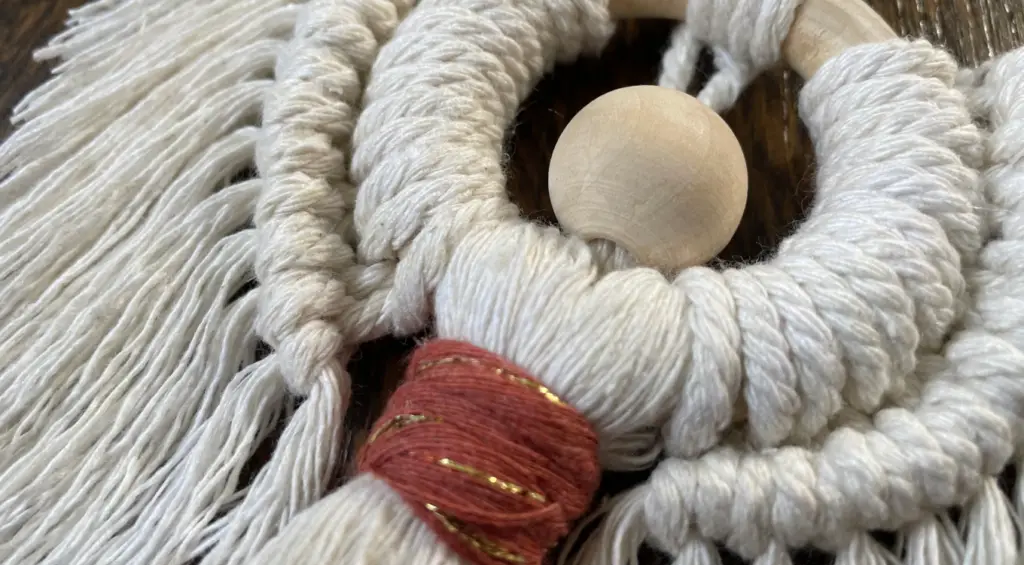
- Next, grab the bead and thread the two ends of the cord though the bead hole so that the bead is now in the centre on the wooden hoop.
- Secure the bead in place by looping the two ends of cord back on themselves.
Creating the Angel’s Body:
- To create the body of the angel, take one of the 5mm cords measuring 30cm and unravel using a comb or pet hair brush.
- Repeat this process on the remaining 30cm pieces of cord until you have 6 bunches of unravelled cord.
- Next, fold it in half and loop through the wooden ring – so you have equal amounts on either side of the wooden bead.,
- To create the belt, grab the gold cord and create a wrap knot.
- First create a loop, and then wrap the cord a round the angel’s body about four times. Then pull the end of the cord through the loop.
- Simply pull the first bit of the cord to tighten, trim the end and tuck in.
Create the Angel’s Wings:
- To form the wings of the angel, use one 3mm cord measuring 35cm.
- Fold it in half and attach it under the wooden ring, just like you did for the body cords, but position it higher up on the ring, closer to the top.
- Secure this cord with a larks head knot.
- Repeat this step with the remaining 11 pieces of 3mm cord, spacing them evenly around the wooden ring.
- You should end up with 6 pieces of cord on each side of the wooden ring
Outer wing detail (Optional):
- Starting with the left wing. Grab your ball of cord and pin down at the top of the wooden ring, this will be your working cord.
- Take the working cord, cross it over the base cord.
- Loop it behind, then through the created loop, pulling it tight.
- Repeat the process until you work round to the bottom on the wooden ring.
- Repeat this process with a new working cord for the right side, and trim when done.
Fraying the wings:
- Now the fun part, using a comb or a pet hair brush, simply brush out the fanned angel wings.
- Don’t worry about the edges, as we’ll trim them at the end.
Finish Your Macrame Angel:
- To finish your macrame angel, gently spray with starch on both sides and leave to dry.
- Once dry, trim any excess cord tails at the bottom of the Angel’s dress to your desired length.
- Be sure to use sharp scissors. Always supervise young children when using sharp scissors.
That’s it! You’ve created your very own Macrame Angel. Feel free to customise it with different cord colours, beads, or other embellishments to make it uniquely yours.
As always, I aim to keep things straightforward and easy to understand. But, for a fantastic visual guide, do check out Rox Shana’s awesome video as mentioned earlier!
My Top Tip :Post-Christmas, store your macrame angel by cleaning and wrapping it in acid-free tissue paper. Keep it in a cool, dry place away from direct sunlight to prevent fading and damage. Organise long cords to prevent tangling and lay it flat to maintain its shape.
FINAL THOUGHTS
I hope you’ve found this Step-by-step guide into creating a Macrame Angel as delightful as I have. It’s not just a craft project; it’s a chance to infuse your Christmas season with that extra touch of personal magic. As we weave these charming angels, we’re also weaving memories – memories we can pass on to future generations or share as heartfelt gifts with our loved ones.
These Macrame Angels may be a step up from our tatty old toilet roll Father Christmases, but they carry the same essence of love and creativity that make homemade decorations so special!
So, whether you’re hanging your angel on your tree or gifting it to a friend, remember that it’s a symbol of the enduring joy of crafting and the warmth of crafting memories together. Happy crafting, and may your holiday season be filled with love and creativity! Merry Christmas!
More Articles