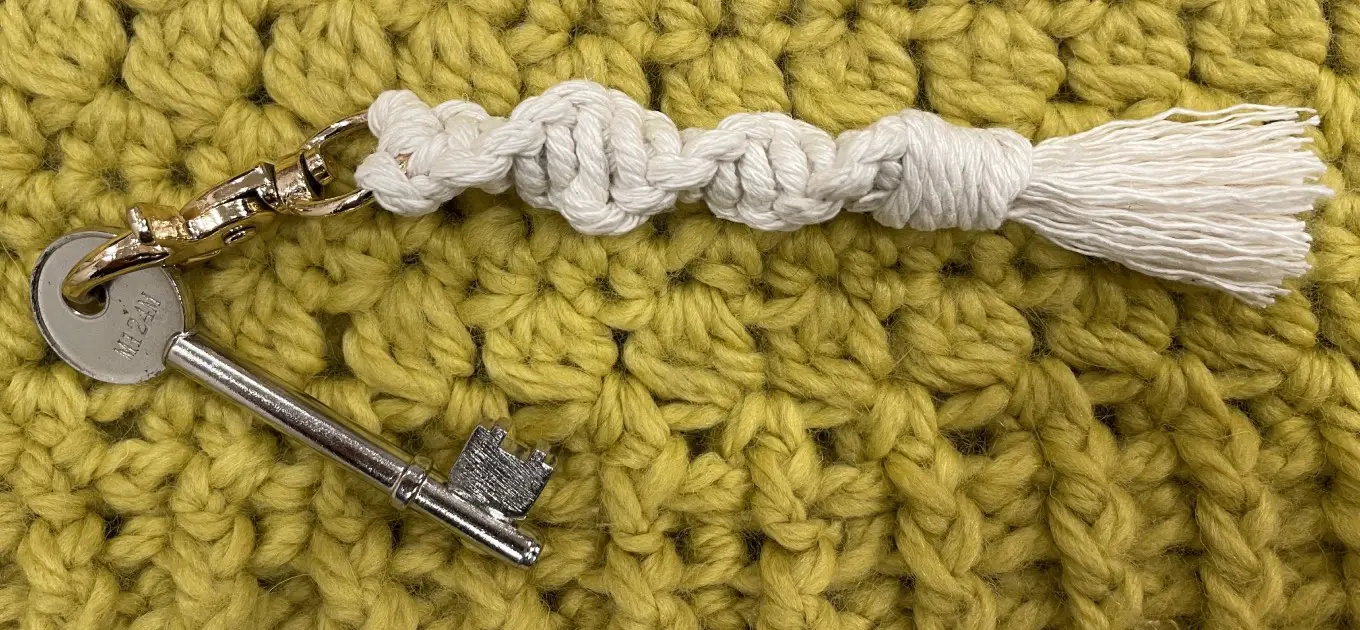
How to make a Macrame Keychain in just 15 mins!
December 19, 2023 by Kate
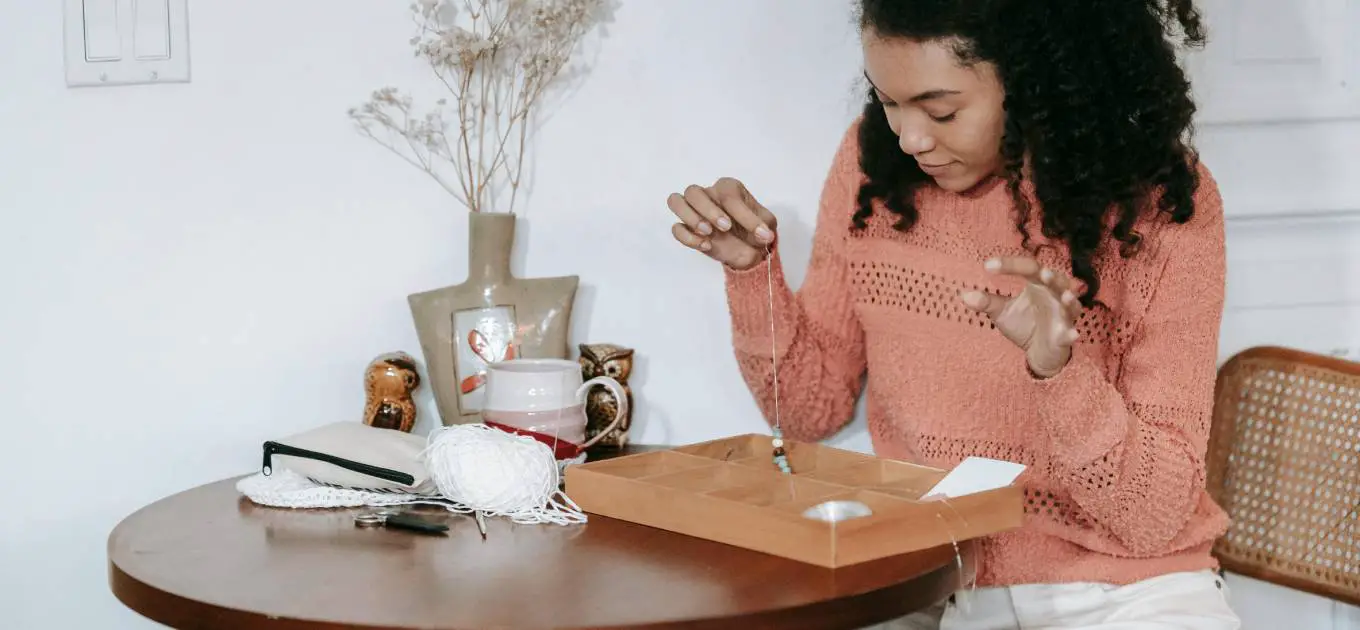
What’s that one thing every adult carries with them outside of their home (apart from their phone, of course)? You got it – keys! Now, imagine jazzing up those mundane keys with a touch of boho charm you can carry everywhere. This mini project isn’t just about functionality; it’s about turning the mundane into something extraordinary. And the best part? Using just three basic knots, you’ll craft your own stylish macrame keychain in the time it takes Jamie Oliver to whip up one of his famous 15-minute meals. Yes, you read that right! So, grab your macrame cord and lets get going…
What do I need to make a Macrame keychain? (macrame sleutelhanger)
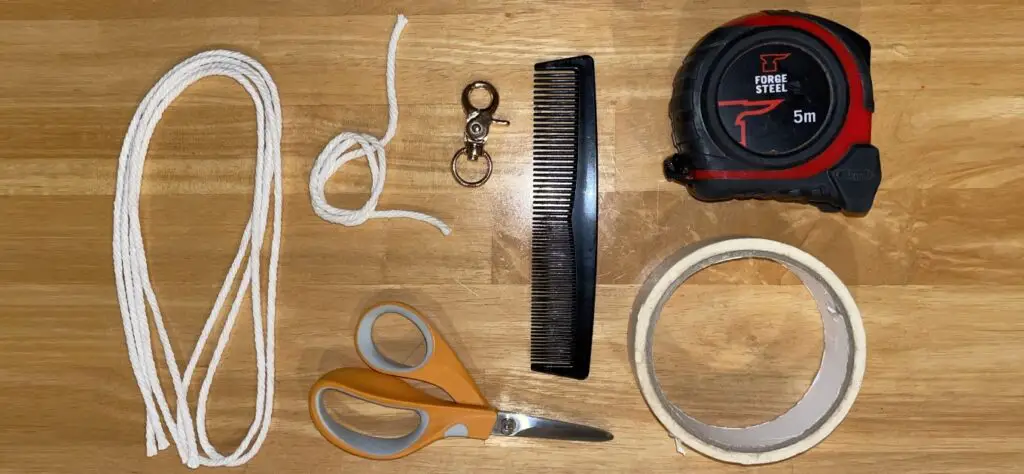
- 3mm Macrame cord (in a colour of your choice)
- 2 pieces at 80cm
- 1 piece at 35 cm
- A keychain hoop
- Scissors
- Masking tape
- Ruler or tape measure
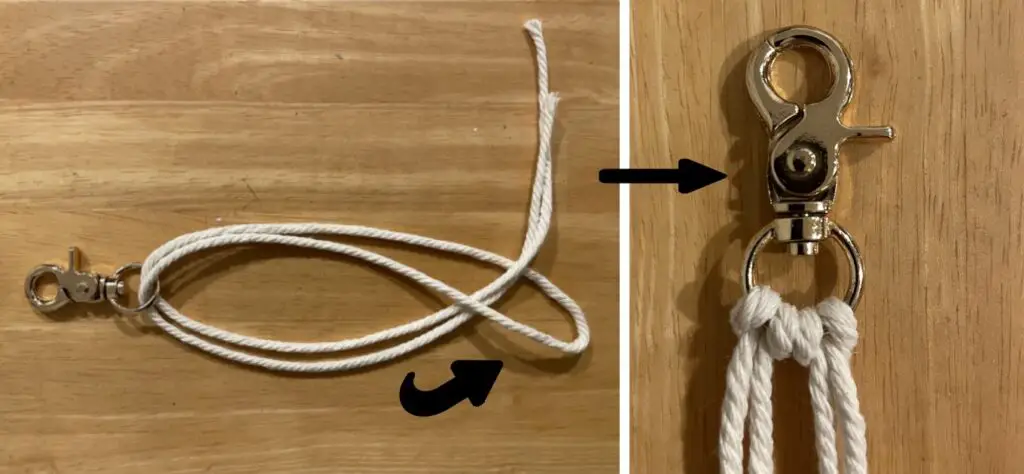
Step 1: Adding the cord to the keychain
If you’ve read some of my other blogs, you might already be familiar with the larks head knot. If not, begin by taking a 80cm piece of macrame cord, fold it in half and unite the ends, then loop through the keychain. Next, loop the ends through the hoop and gently pull tight. Repeat this process with the other 80cm piece of cord.
Step 2: Creating the spiral knots
The spiral knot, also known as the spiral square knot, is created by repeatedly tying a half knot in the same direction. As you do this, it naturally starts to twist into a spiral pattern. Simply, take the two outer cords and tie 14 half knots to make a spiral.
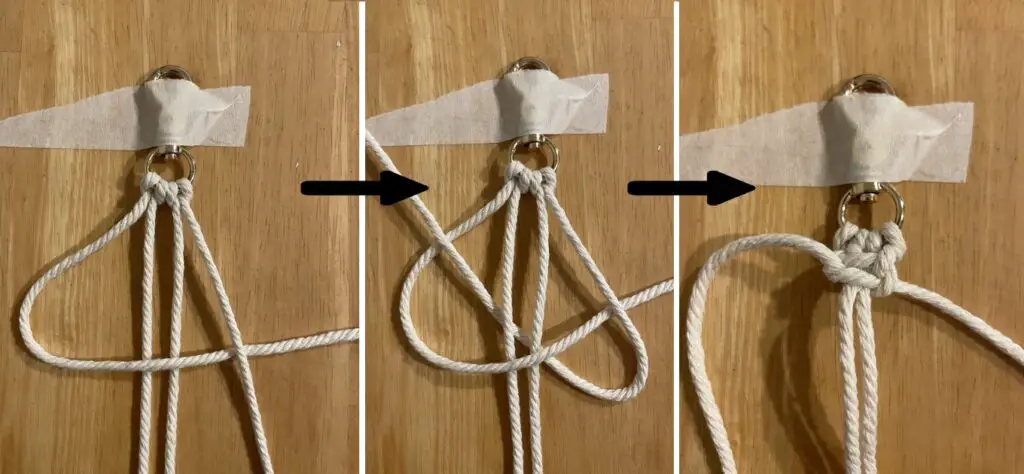
To tie a half knot, cross the left cord over and bring the right cord back behind and through the loop (like the image above). Tighten the knot by pulling the cords. I always remember spiral knots by thinking of the number 4 or the letter L – you have the left cord crossing over the right, then looping behind and through the L-shaped loop formed.
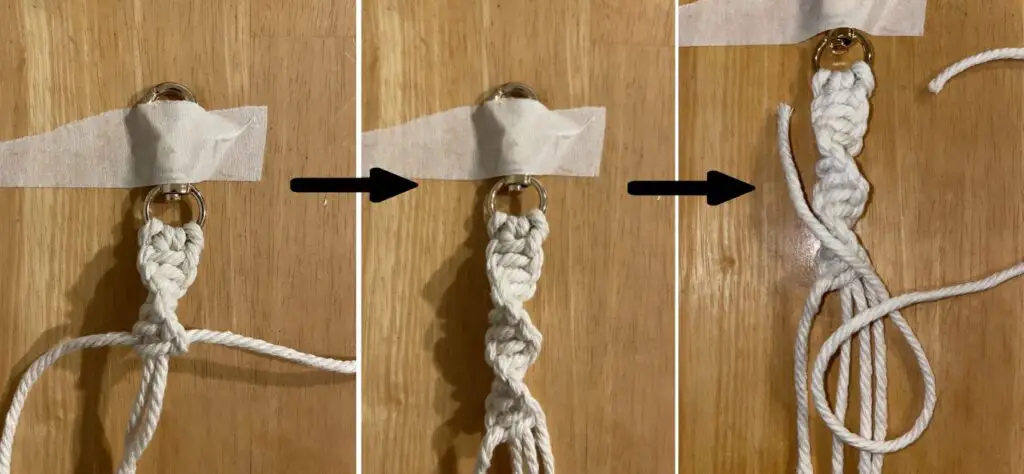
Step 3: Finish with a wrapping knot
Secure a wrapping knot by taking the remaining 35cm piece of cord. Form a U-shape, holding it against the cord bundle with a bit sticking up on the left. Wrap the longer side around the bundle 6 or 7 times. Thread the end through the loop, pull the short end, secure halfway under the wraps, trim excess, and tuck the ends neatly. You can leave the ends as they are, or comb them for a fringed finish.

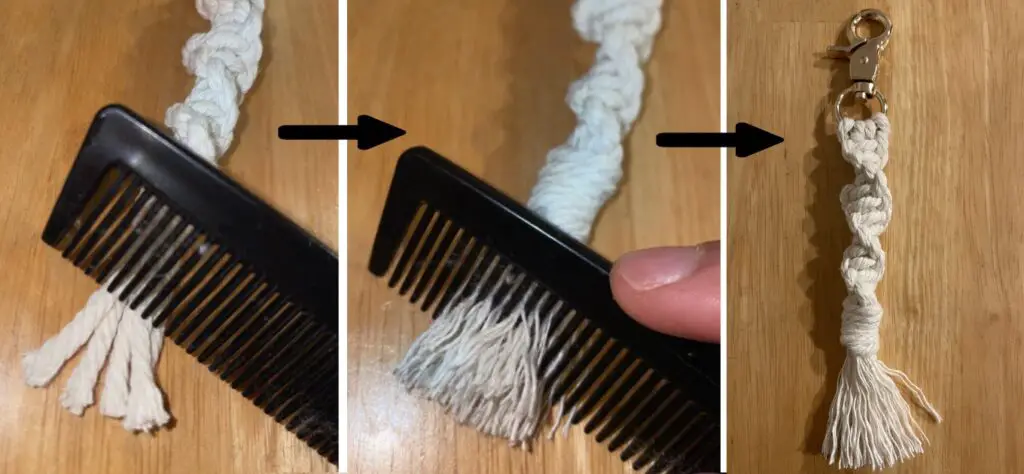
Step 4: Creating the Fringe (Optional)
If you’ve checked out my other blogs, you might already know about the fringing effect. If not, grab a pet hair brush or comb and comb the ends until the cord unravels. Trim neatly to finish.
Final Thoughts
Feel free to get creative by adding wooden beads or trying different colours. Keychain rings are available at most craft stores, or you can take the eco-friendly route like me and upcycle one from an old keyring.
Even though this guide is short and sweet, mastering those three key knots—the lark’s head, spiral square knot, and wrapping knot—opens the door to endless possibilities. Ready to level up? Dive into the iconic Macrame plant hanger tutorial—it’s like a next-level adventure using exactly the same knots!
If you get stuck, check out this amazing video below by Crafty Kitten DIY
More Articles