How to do 5 Basic Macrame Knots
February 4, 2024 by Kate
Hey aspiring macrame enthusiasts! If you’ve been admiring those intricate macrame designs and contemplating giving it a try, you’re not alone. No need to wonder anymore—I’ve got your back!
Let’s cut to the chase and dive right into how to macrame. Macrame might seem a bit daunting initially, but don’t worry. I’m here to walk you through the basics. We’ll begin with five straightforward knots that form the foundation for your creative journey.
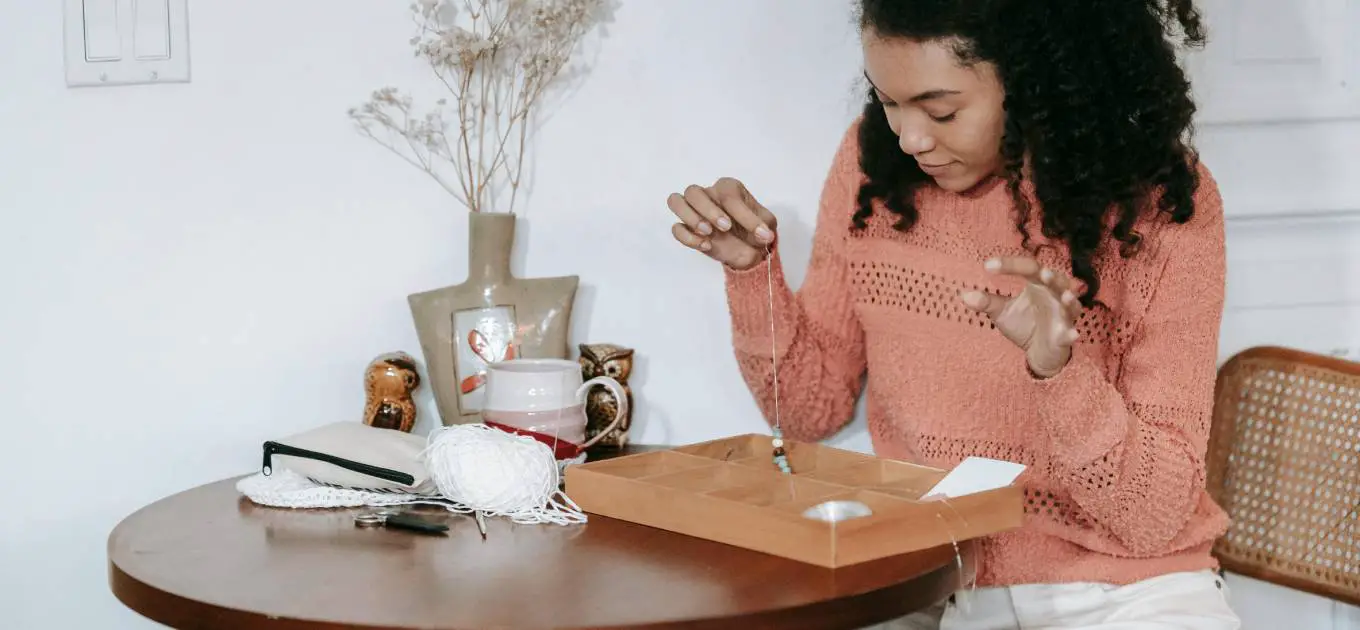
Whether you’re a complete beginner or just looking for a quick refresher on how to macrame, consider this guide your one-stop resource. So, grab your cord, find a cosy spot, and let’s delve into the world of macrame together. Ready to get started? Gather macrame cord of any thickness (I typically opt for 3mm), a pair of scissors, and a support item, such as a wooden ring or dowel.
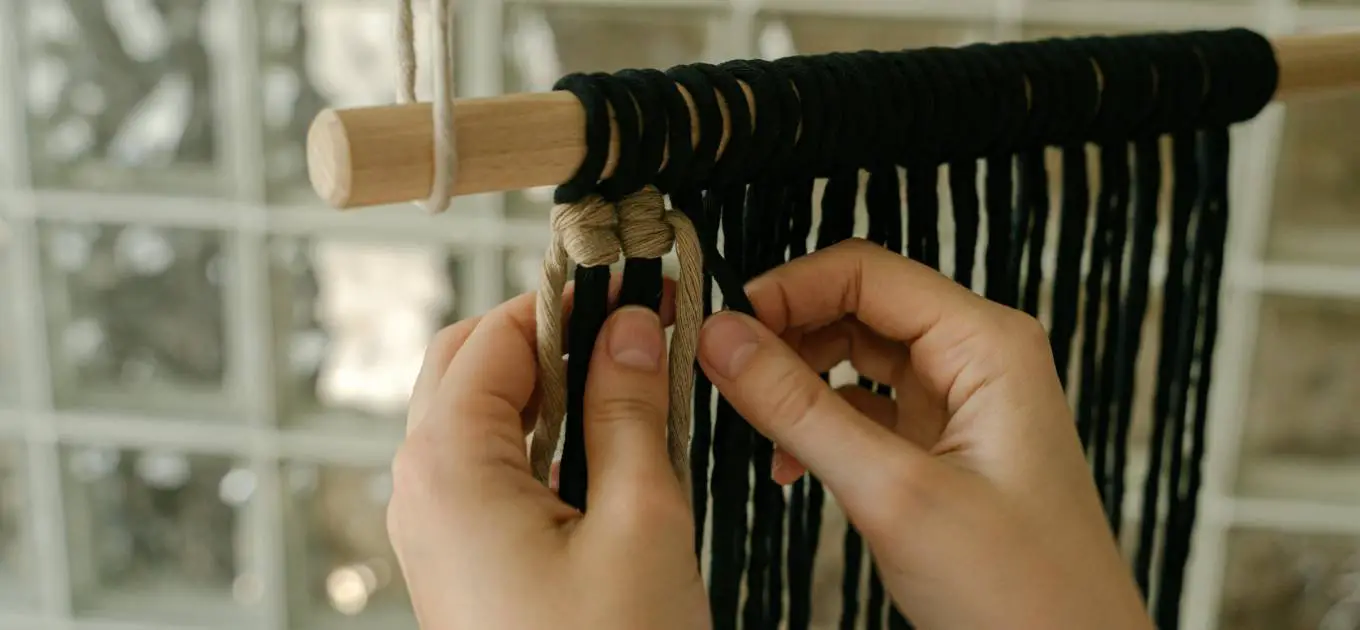
KNOT 1 – The Lark’s Head Knot
Let’s begin by exploring the lark’s head knot. It’s the go-to starting point for most macrame projects, serving as the mounting knot that essentially secures the cord to a dowel, wooden ring, or keyring.
To start, grab the cord and fold it in half, creating a loop. Place the folded end over your chosen anchor point, whether it’s a dowel, ring, or keyring. Then, pull the loose ends through the loop, ensuring a snug fit.
KNOT 2 – Reverse Lark’s Head Knot
Similar to the Lark’s head knot, fold your working cord in half, put it above the base cord, loop it behind, bring it over the top, thread it through its own loop, and give it a gentle tug to secure. It’s a handy knot for all your macrame projects!
KNOT 3 – Gathering Knot (a.k.a Wrapping Knot)
The Gathering Knot, also known as the Wrapping Knot, is your go-to for gathering cords in your macrame projects, like those chic plant hangers you’ve seen around. In this knot, we have two types of cord known as working cords and filler cords.
To get started, grab a separate length of cord (your working cord) and create a long U-shaped loop. Position it gracefully on top of the group of filler cords, making sure the loop faces downward.
KNOT 4 – Square Knot
Creating a square knot in macrame is easy! Start with four cords, one on each side and two in the middle. First, cross the left cord over the right one, then pass it behind and pull it through the hole, making sure to pull both cords tight. Next, reverse the process: cross the right cord over the left, pass it behind, and pull it through the hole, tightening again. The two middle cords form the central column that the left and right cords wrap around.
KNOT 5 – Spiral Square Knot
Creating the spiral knot, also known as the spiral square knot is another easy knot to master. In summary, you just keep tying half of the square knots (see above)in the same direction, and it will naturally twist into a spiral pattern. Start with four cords, one on each side and two in the middle. To tie a half knot, cross the left cord over the right and bring the right cord behind and through the loop. Tighten by pulling the cords. Remember, it’s a bit like drawing the number 4 or the letter L with your cords: left over right, behind, and through the loop!
Final Thoughts
And there you have it, five simple macrame knots to kickstart your how-to macrame adventure! As promised, it’s a breeze to get started, and I hope you’re feeling inspired to dive into the world of macrame crafting.
If you’re hungry for more creative projects, I’ve got you covered with easy-to-follow how-to guides that feature these easy knots, such as ‘How to Create a Macrame Keychain‘ and ‘How to Create a Macrame Plant Hanger.’ So, why wait? Grab your cords, explore these exciting tutorials! If that’s not enough, I’ve also found some amazing videos from other macrame enthusiasts to help you if you get stuck!
More Articles