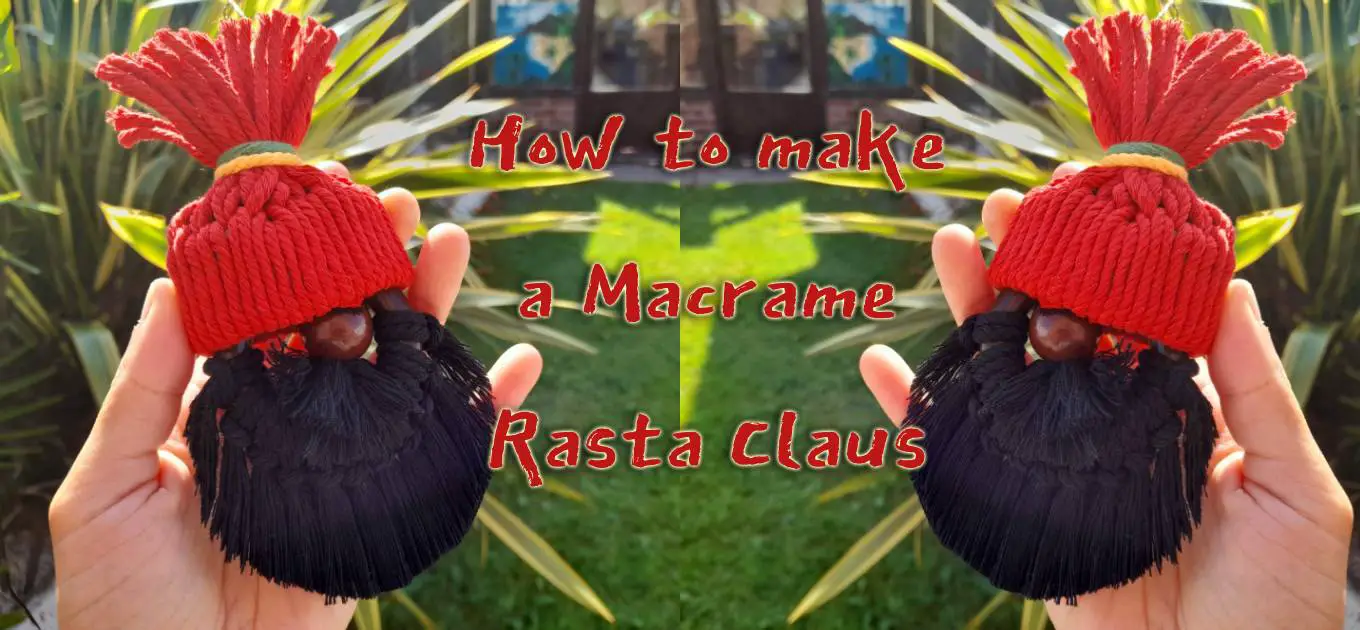
How to make a Macrame Rasta Claus Christmas Decoration – Jamaican Style!
August 31, 2024 by Kate
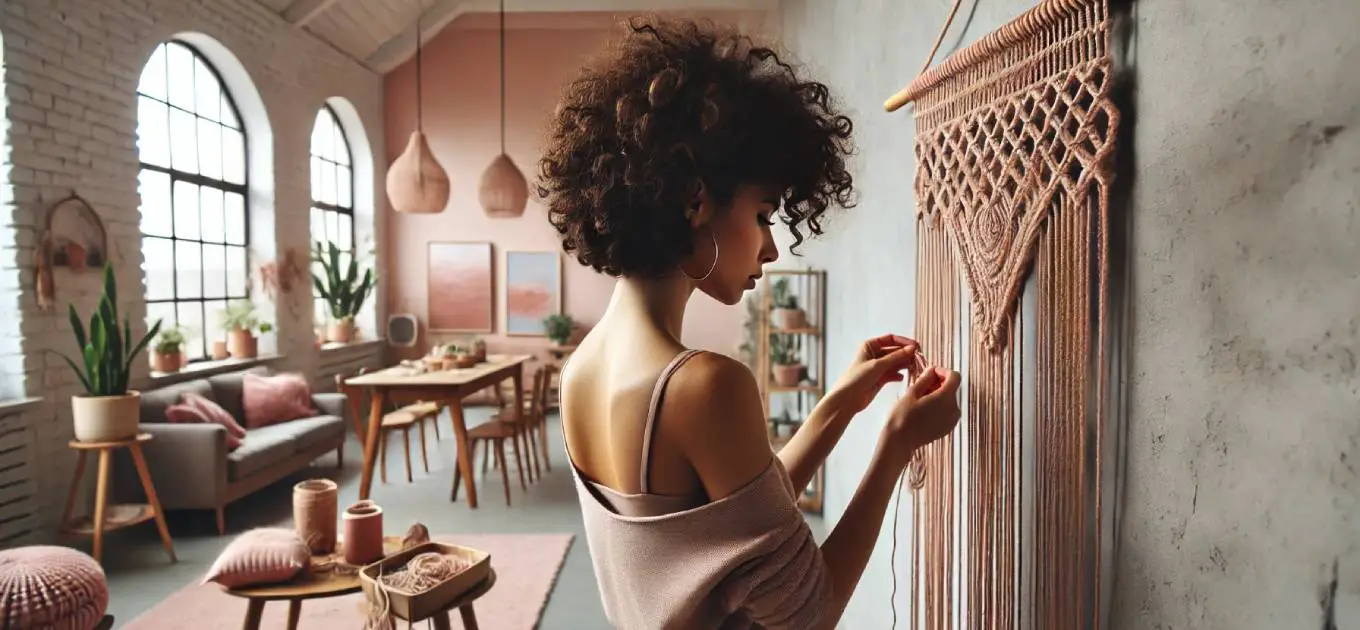
Today, we’re taking a delightful detour from the traditional Christmas decor to pay homage to my Jamaican roots with a unique twist on a festive favourite. Now, growing up, while most kids were all about Santa Claus, my siblings and I were waiting for someone a little different—Rasta Claus. Yep, you heard me right! My Jamaican dad, with a twinkle in his eye and a grin as wide as the Caribbean Sea, would tell us about Rasta Claus. This jolly figure would show up sometime between Christmas and New Year’s, bringing gifts wrapped in newspaper—often a handmade wooden trinket (made by my dad) or something from the local market.
For years, I thought Rasta Claus was just one of my dad’s quirky inventions, but imagine my surprise when I found out other Jamaican families recognised him too! So, in honour of those cherished memories and my Jamaican dad, I’ve decided to combine my love for macrame with a bit of island flair to create a Macrame Rasta Claus decoration. My siblings better brace themselves for a dose of Jamaican macrame magic!
What You’ll Need for Your Macrame Rasta Claus…
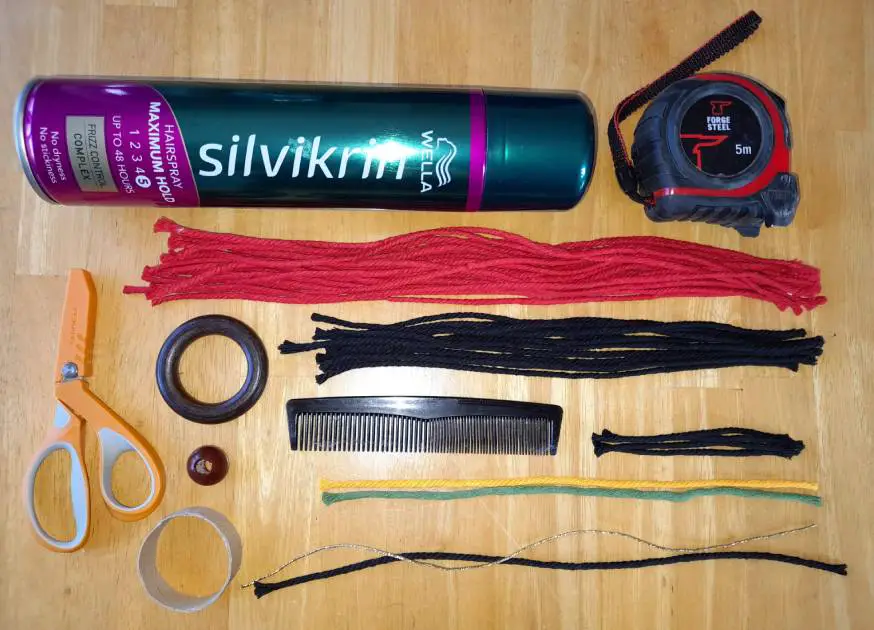
Here’s what you’ll need to bring your very own Rasta Claus to life:
- Black Macrame Cord: 12 pieces at 25cm, 4 pieces at 10cm, plus one piece at 30cm for attaching the nose.
- Red Macrame Cord: 20 pieces at 40cm, and two (green and yellow) pieces at 20cm each.(because Rasta Claus wouldn’t be complete without these iconic colours)
- Gold Cord: One piece at 40cm
- Dark Wooden Bead: 2cm in diameter
- Dark Wooden Ring: 5cm in diameter
- Cardboard or a Toilet Roll: 20cm x 2cm to form the base of the hat.
- Scissors: To snip and trim to perfection.
- Ruler: For precise measurements because Rasta Claus likes things just right.
- Cellotape: To help shape the hat (if using cardboard).
- Hair spray and comb: For perfection
Step 1: Crafting Rasta Claus’s Hat
Start by fashioning a loop with your cardboard or toilet roll using cellotape, making sure it fits snugly over the wooden ring. This loop will serve as the foundation for Rasta Claus’s redhat.
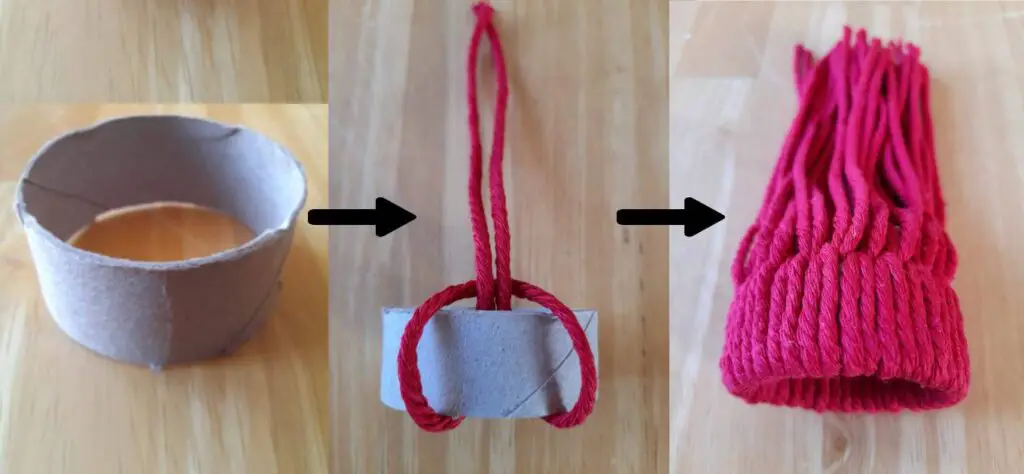
Next, grab the red cord, and use a Lark’s Head knot to attach the cords to the cardboard. Fold each cord in half, forming a loop, place the loop in front of the cardboard, then pull the ends through the loop. Secure it tight, and repeat until you’ve filled the entire loop. Rasta Claus’s hat is coming together!
Step 2: The Beard
Now that Rasta Claus has a hat, it’s time to give him that iconic black beard. Attach the black macrame cords to the wooden ring using the same Lark’s Head knot technique as above.
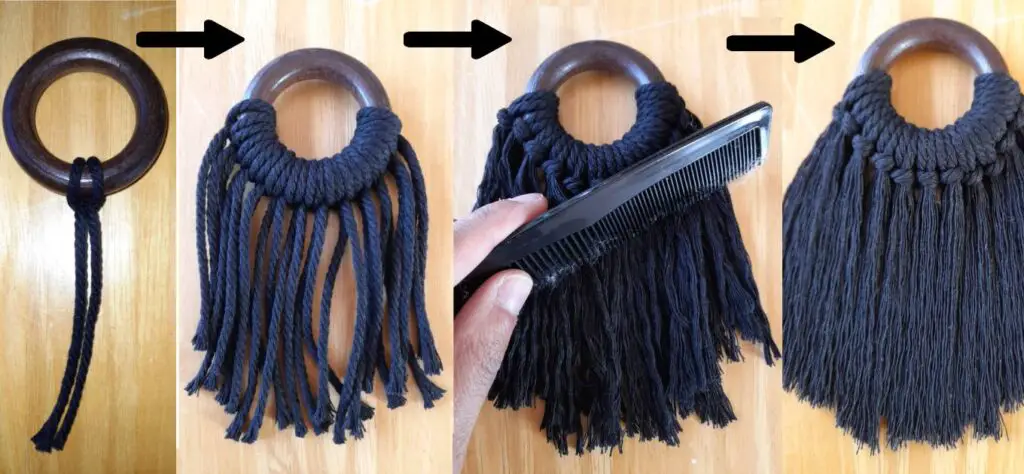
Once all the cords are attached, carefully unravel them to create that lush beard effect. A comb or pet brush works wonders here.
Step 3: The Nose

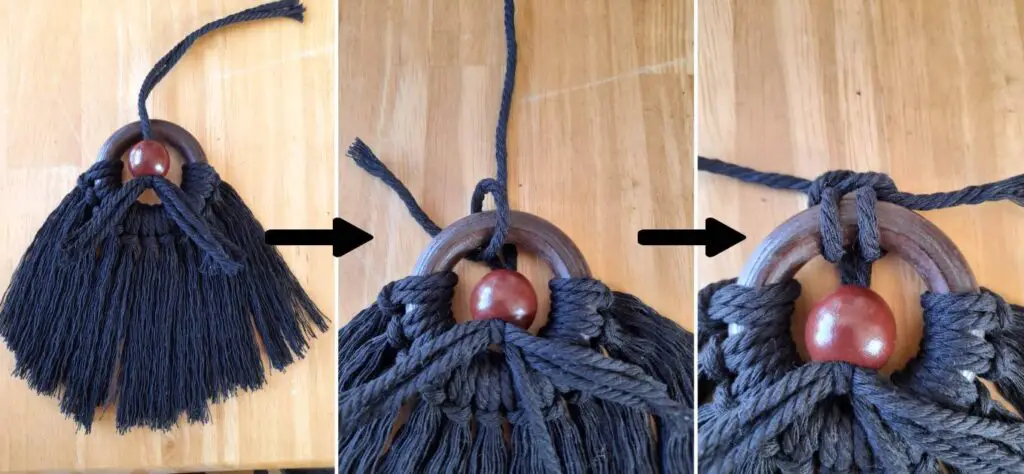
Slide the wooden bead onto the 30cm black cord and secure it with a knot just above the bead. This will be Rasta Claus’s nose, adding a bit of character to our creation.
Optional: Using the 4 pieces of black cord, if you loop the 30cm of black cord, you can slide these four into place as a moustache!
Place the bead in the center of the ring, resting it on the fluffy black beard. Loop the cord around to keep it in place, ensuring it’s snug and secure.
Step 4: Bringing It All Together
Attach the gold cord to either the black cord or wooden ring. This will be the anchor that attaches it to a Christmas tree!
Now, here’s where the magic happens—let’s put it all together! Gently slide the hat onto the wooden ring, making sure it nestles perfectly in place.
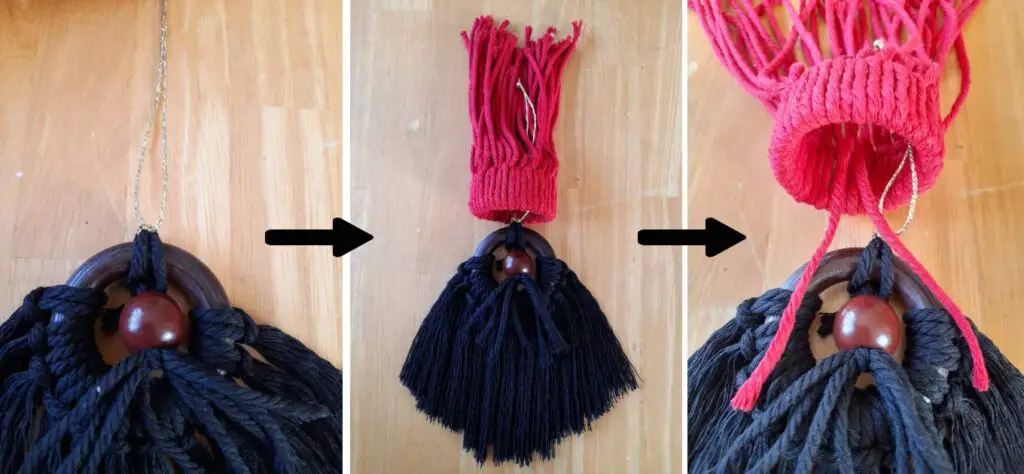
Thread the 30cm gold cord through the center of the hat. Gently pull down two pieces of red cord from the hat (on the top and bottom) and tie around the wooden ring. Then tie the 20cm coloured cords to gather the hat cords and secure the look.
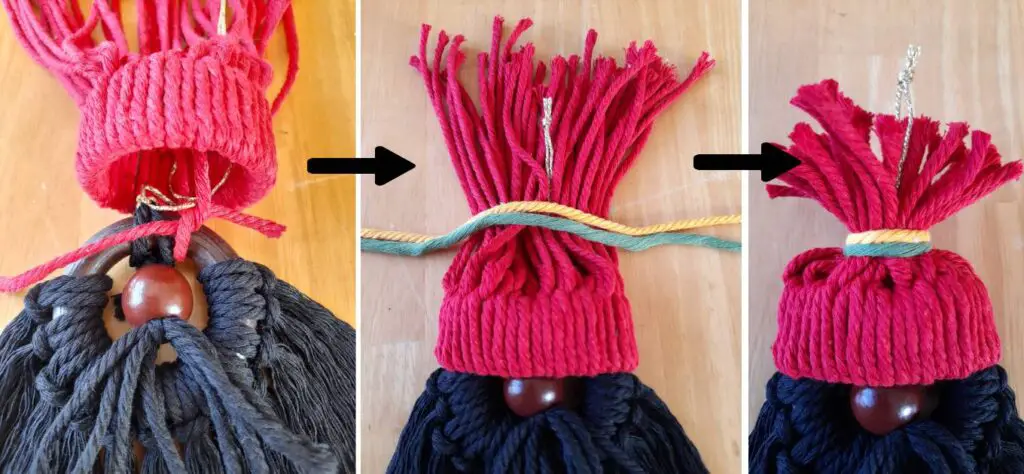
Finally, tie a loop at the top so Rasta Claus can hang proudly on your tree, your wall, or anywhere you’d like to add a touch of Jamaican festivity.
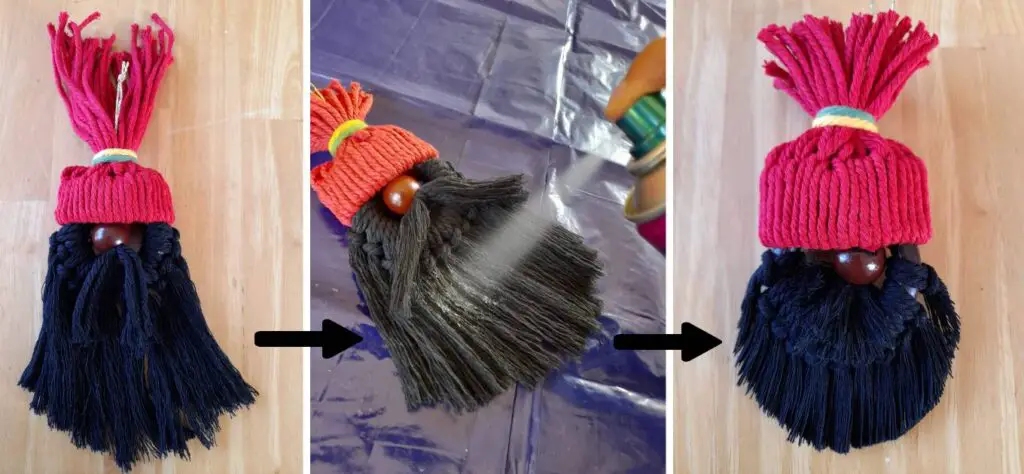
Once assemble, spray your Rasta Claus with extra strong hold hairspray and neaten with a comb. I also use the back (flat) side of the comb to flatten it more. Leave to dry and then trim to shape!
Final Touches and Variations
And Voila! What do you think?
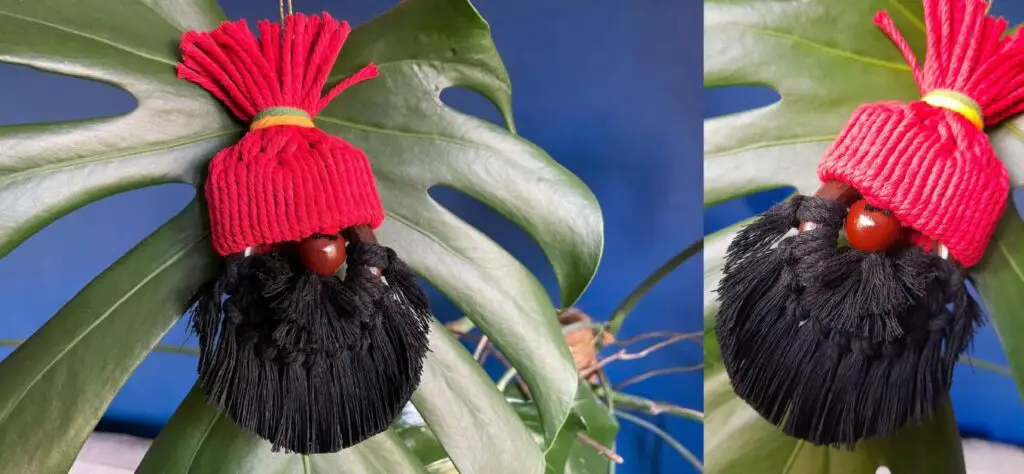
Why not experiment with different colours for extra flair? Rasta Claus is all about creativity and making each piece uniquely yours. Whether you’re keeping it traditional with the Rasta colours or adding your own twist, let your imagination run wild. If you get stuck, check out this amazing video for help…
And there you have it—your very own Macrame Rasta Claus, a festive decoration that brings a bit of Jamaican culture and a whole lot of heart into your home. Happy crafting, and may your holidays be filled with warmth, love, and just a little bit of Rasta magic!
More Articles